
What to Expect: Your Concrete Project Timeline from Quote to Completion
One of the most common sources of anxiety for homeowners planning a new driveway, patio, or paving project isn't the material choice or the design, it's simply not knowing what to expect. How long will this actually take? What happens between getting a quote and seeing a finished project? When can I actually park my car on it?
Understanding the typical process from start to finish helps set realistic expectations and makes it much easier to spot a contractor who's communicating clearly versus one who's leaving you in the dark. Here's a step-by-step look at what a well-run concrete or paving project actually looks like, from your first phone call to the final walkthrough.
Step 1: Initial Consultation and Site Visit
Every legitimate concrete project starts with an in-person assessment of your property. During this visit, a contractor should evaluate the existing surface if you're replacing one, assess soil and drainage conditions, take measurements, and discuss your goals, whether that's a simple driveway repour, a decorative patio, or a larger paving project.
This is also the right time to discuss material options. Depending on your budget, timeline, and design goals, your contractor should walk you through the trade-offs between poured concrete, concrete pavers, and asphalt paving for your specific project rather than defaulting to a single option.

Step 2: The Quote and Proposal
A detailed, transparent quote should outline more than just a total price. Look for a breakdown that includes material costs, labor, estimated timeline, and whether permitting or HOA approval costs are included separately. This is also the point to ask specific questions: What warranty is offered? What happens if weather delays the project? How does the contractor handle unexpected issues discovered during excavation, such as poor soil conditions?
A clear, itemized proposal at this stage tends to be a strong indicator of how communicative and organized the rest of the project will be.
Step 3: Permitting and HOA Approval
Depending on your location and the scope of your project, this step can add anywhere from a few days to several weeks to your overall timeline. Larger projects, significant patio expansions, or anything affecting impervious cover calculations may require a city permit, while homes in HOA communities often need architectural review approval before work can begin, a process covered in more detail in our article on HOA rules for Austin driveways and patios.
An experienced contractor should handle or guide you through this process rather than leaving you to navigate permitting and approval requirements entirely on your own.
Step 4: Scheduling and Final Material Selection
Once approvals are in place, your project moves to scheduling. This is when you'll finalize decisions like color, finish, and pattern if you're going with a decorative concrete or paver option, and your contractor should provide a target start date based on current scheduling and, importantly, seasonal weather considerations.
As covered in our article on the best time of year to pour concrete in Austin and Houston, scheduling around favorable weather windows can meaningfully affect both the installation process and the long-term quality of the finished surface.
Step 5: Site Preparation
This is where physical work begins. If you're replacing an existing driveway or patio, this step starts with demolition and removal of the old surface. From there, the crew excavates to the appropriate depth, grades the site for proper drainage, and compacts a sub-base layer, typically gravel or crushed stone, which forms the foundation everything else is built on.
Given Texas's expansive clay soil, this stage deserves particular attention. Rushed or inadequate sub-base preparation is one of the most common causes of premature cracking and settling, a topic explored in depth in our article on Texas heat, clay soil, and concrete installation.
Step 6: Forming and Reinforcement
Once the site is properly prepared, wooden or metal forms are set to define the exact shape and boundaries of the concrete surface. Reinforcement, typically rebar or wire mesh depending on the project's requirements, is placed within the forms to help the finished slab resist cracking from soil movement and load stress. This is also when control joints are planned, intentional lines that will later be cut into the concrete to guide natural shrinkage cracking to specific, less noticeable locations.
Step 7: The Pour
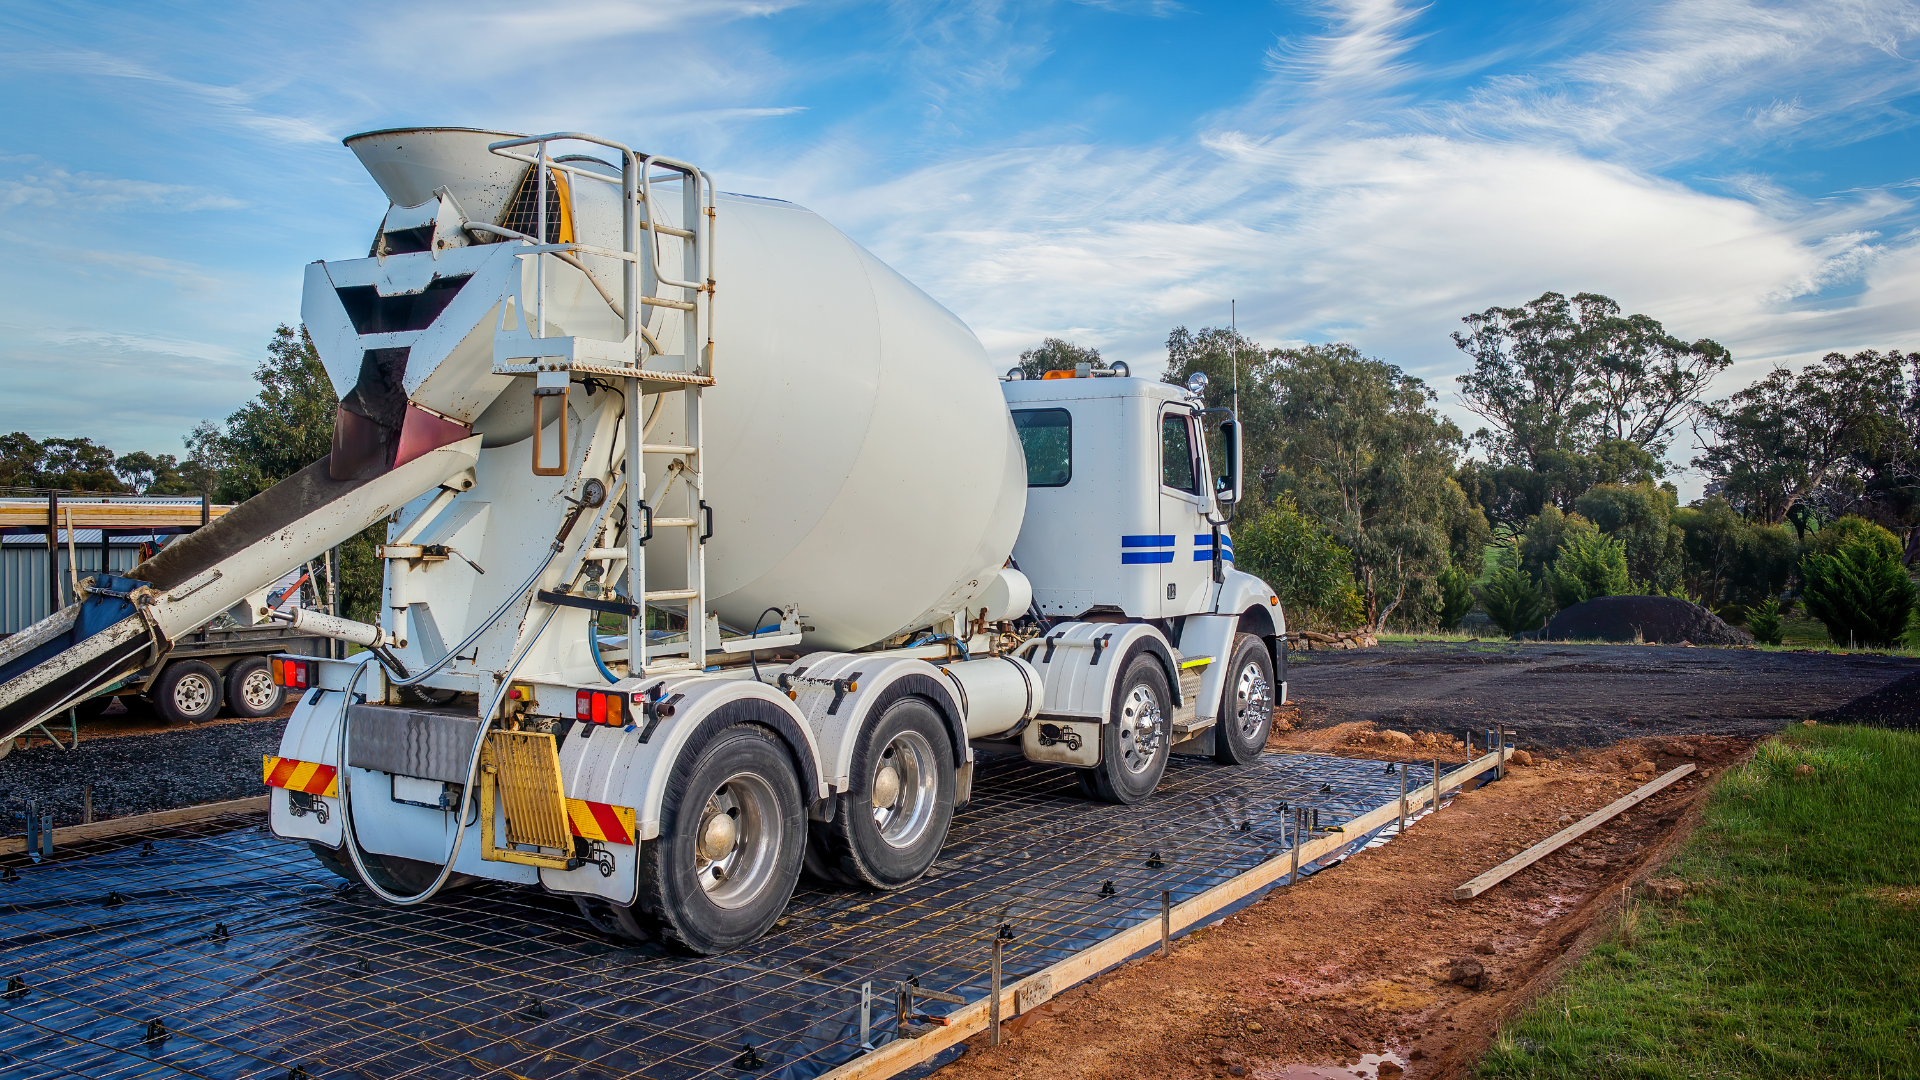
Pouring day is when the concrete truck arrives and the crew works efficiently to place, level, and finish the surface before the concrete begins to set. Timing matters significantly here, particularly during Texas summers, when many contractors schedule pours for early morning to avoid the most intense midday heat.
Finishing techniques applied during this stage determine much of the final look, whether that's a simple broom finish for slip resistance, a stamped pattern mimicking natural stone, or a smooth surface prepared for staining later. Weather monitoring continues through this stage as well, since unexpected rain shortly after a pour can affect the surface finish if not properly managed.
Step 8: The Curing Period
Once poured, concrete needs time to cure before it's ready for regular use. As covered in our article on concrete curing timelines, the general benchmarks are light foot traffic after about 24 to 48 hours, light vehicle traffic around the 7-day mark, and full design strength by approximately 28 days.
During this period, your contractor should provide clear guidance on what to avoid, parking, heavy equipment, or in some cases even foot traffic during the earliest days, to protect the investment while it reaches full strength.
Step 9: Final Walkthrough, Sealing, and Cleanup
Once the concrete has cured sufficiently, most projects conclude with a final walkthrough alongside your contractor to review the finished surface, address any remaining questions, and apply a sealant if your project calls for one, common for decorative finishes and driveways alike to protect against staining and moisture penetration.
A professional crew should also handle full site cleanup, removing forms, excess material, and construction debris, leaving your property ready to use. This is also the point where warranty documentation and any maintenance recommendations should be provided.
Typical Timeline by Project Type
While every project varies based on size, weather, and permitting requirements, general timelines look roughly like this:
Small patios or walkways: Site prep and pour typically completed within 2 to 4 days, plus the standard curing period before full use
Standard residential driveways: Demolition, prep, and pour usually completed within a week, followed by the curing timeline before regular vehicle use
Larger or decorative projects, such as stamped patios or extensive paver installations: Often 1 to 2 weeks depending on design complexity
Commercial projects, including parking lots or multi-phase installations: Timelines vary significantly and are typically outlined in detail during the proposal stage given the added permitting and phasing considerations covered in our article on commercial concrete services
What Can Affect Your Timeline
Weather delays, particularly during hurricane season or unpredictable spring storms common to this region
Permitting and HOA approval timelines, which vary by municipality and community
Design complexity, since stamped patterns, custom paver layouts, or multiple finish zones naturally take longer than a standard broom-finished slab
Material availability, particularly for specialty pavers or specific decorative finishes
Unexpected site conditions, such as poor soil discovered during excavation that requires additional preparation
Tips for a Smooth Project Experience
Ask for a written timeline estimate upfront, along with an explanation of what could realistically extend it
Confirm who handles permitting and HOA submissions so there's no confusion about responsibility during that stage
Stay flexible around weather-related rescheduling, since a short delay to protect curing quality is almost always worth it compared to rushing a pour in poor conditions
Ask questions at each stage, a contractor who communicates clearly throughout the process is one of the strongest indicators of a well-managed project
Plan Your Project With Pavetec
Knowing what to expect at each stage makes the entire process feel far more manageable, whether you're planning a small patio or a full commercial installation. At Pavetec, we walk every client through each step clearly, from that first site visit through the final walkthrough, so there are no surprises along the way.
📍 Proudly serving Houston & Austin, TX
Ready to get a clear, detailed quote for your concrete or paving project?
📞 Contact us at (832) 674-3996 or message us to schedule your free consultation.